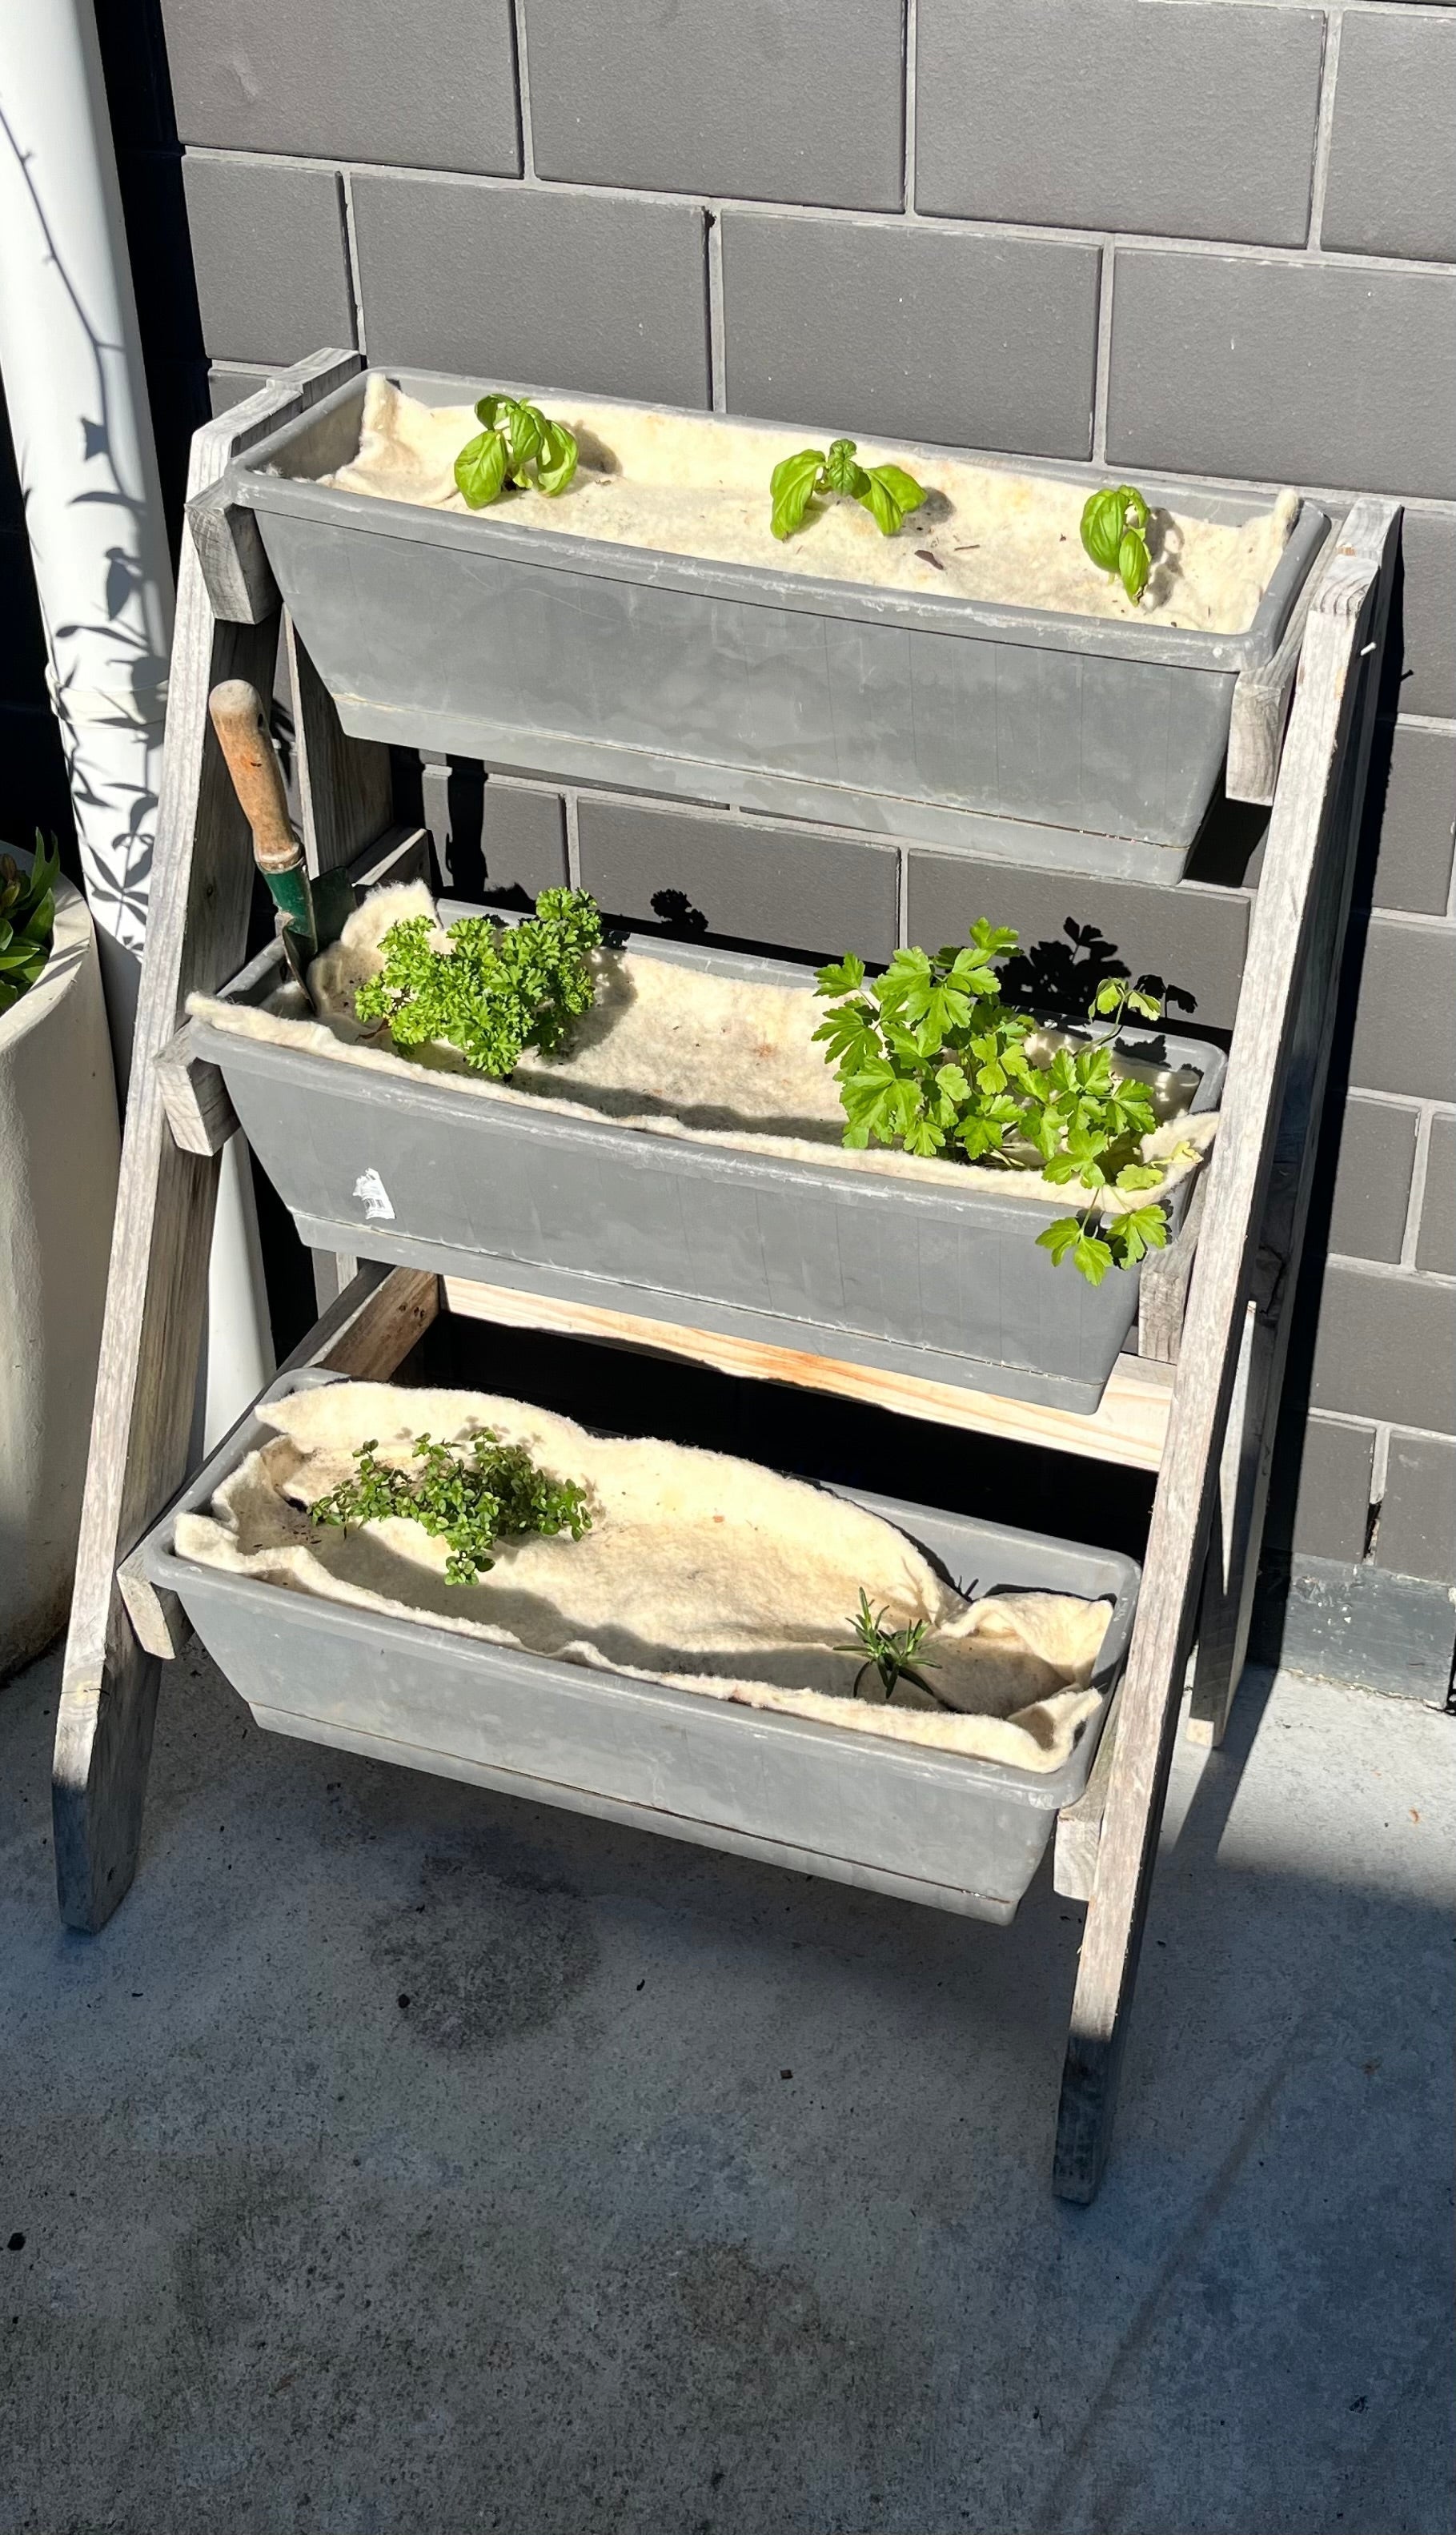
Why Start a Herb Garden?
A herb garden is one of the easiest and most rewarding ways to begin growing your own food. Whether you have a few pots on the deck or a raised garden bed outside the kitchen door, herbs such as basil, parsley, rosemary, mint, and thyme thrive in small spaces. They bring freshness to meals, fragrance to the garden, and a sense of satisfaction from harvesting straight from the soil.
But to keep herbs flourishing, they need consistent soil health, weed-free growing conditions, and balanced moisture. This is where wool mulch mats step in as a powerful gardening ally.
The Benefits of Mulch Mats in Herb Gardens
1. Natural Weed Suppression
Weeds compete with herbs for nutrients, water, and sunlight. Wool mulch mats create a natural barrier that prevents weed seeds from germinating and breaking through the soil, meaning your herbs get the full benefit of the growing conditions.
2. Moisture Retention for Healthy Herbs
Herbs often need even soil moisture—too dry and they wilt, too wet and roots can rot. Wool fibres naturally hold up to 30% of their weight in water while still allowing air to circulate, creating the perfect balance for consistent growth.
3. Soil Temperature Regulation
Whether it’s hot Hawke’s Bay or Alexandra summers or cooler winter nights, mulch mats act as insulation. They keep soil warmer in winter and cooler in summer, protecting delicate herbs like basil from stress.
4. 100% Sustainable and Compostable
Wool mulch mats are made from NZ wool, making them biodegradable and eco-friendly. Over time, they break down and feed nitrogen back into the soil, giving your herb garden a natural boost without synthetic fertilisers.
5. Easy to Use
Simply cut the mat to size, place it around your herbs, and water through it. Unlike bark or loose mulch, wool mats stay in place even on windy days, making them perfect for pots, raised beds, and planter boxes.
How to Set Up Your Herb Garden with Mulch Mats
- Choose Your Herbs: Start with popular kitchen staples like basil, rosemary, thyme, chives, and mint.
- Prepare the Soil: Loosen the soil, add compost, and make sure drainage is good.
- Plant Herbs: Space them out so each plant has room to grow.
- Apply Mulch Mats: Cut the mat to fit around each herb or line your whole bed.
- Water In: Water directly through the wool mat. It will absorb and slowly release moisture to the roots.
To Cover or Not to Cover?
If you add bark chips, decorative stones, or extra mulch on top of the wool mat, it may break down faster. This isn’t necessarily a bad thing, it means your garden gets the nitrogen hit earlier, helping herbs grow even faster. But covering also increases moisture retention, which can be a risk if your garden is already in a damp spot.
Why Wool Mulch Mats Are Perfect for Herbs
Unlike synthetic weed mats, wool mulch mats don’t suffocate the soil. They allow water and air to flow naturally, giving herbs the living soil conditions they need. With the added benefit of breaking down into fertiliser, they turn every season of growth into long-term soil health.
For anyone serious about herb gardening, from beginners to pro growers, wool mulch mats are a low-maintenance, sustainable solution that keeps herbs thriving year-round.
Conclusion: Fresh Herbs, Less Effort
A thriving herb garden doesn’t need to be high-maintenance. By using wool mulch mats, you create a growing environment that’s weed-free, moisture-balanced, and nutrient-rich, leaving you with more time to enjoy fresh, homegrown herbs in every meal.
Ready to transform your herb garden? Explore NZ-made Wool Mulch Mats and grow herbs the sustainable way.

